PixVerse V6 Transition creates smooth AI-generated video transitions between a start image and an optional end image. Supports 360p to 1080p resolutions, 1-15 second duration, multiple aspect ratios, optional audio generation, and multi-clip mode. Ready-to-use REST inference API, best performance, no coldstarts, affordable pricing.
Idle
$0.025per run·~40 / $1
ExamplesView all
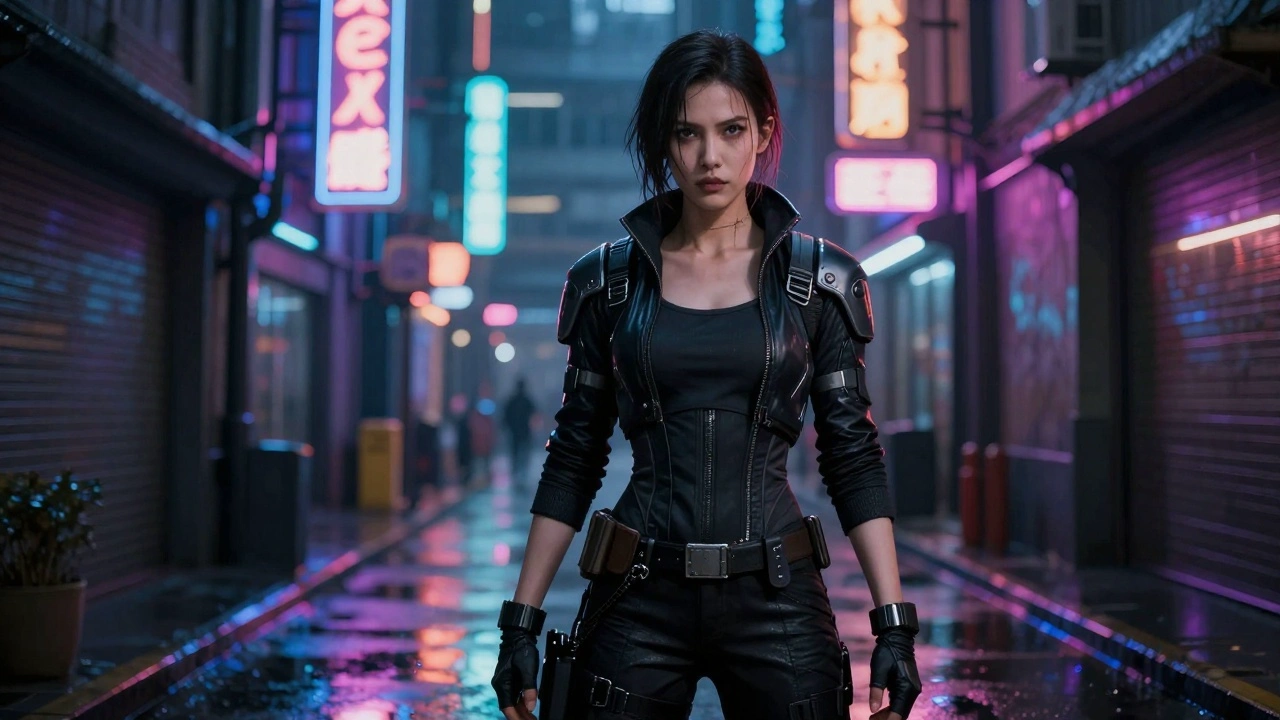
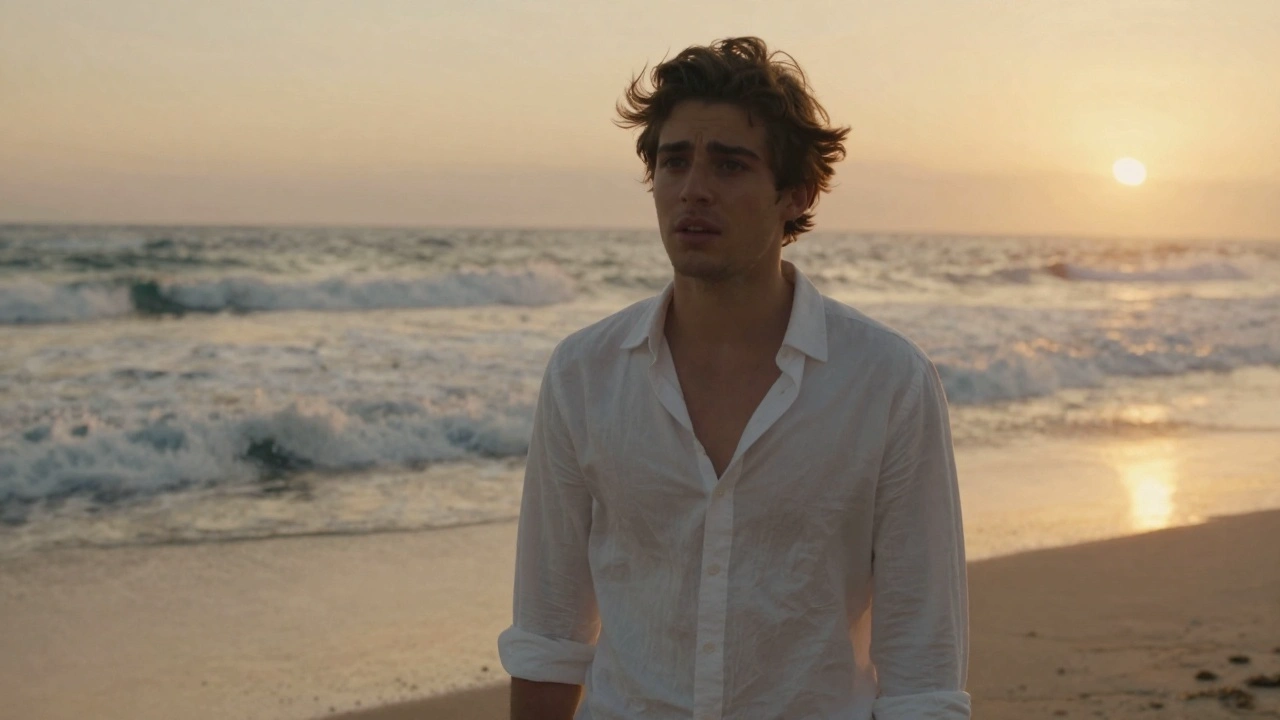
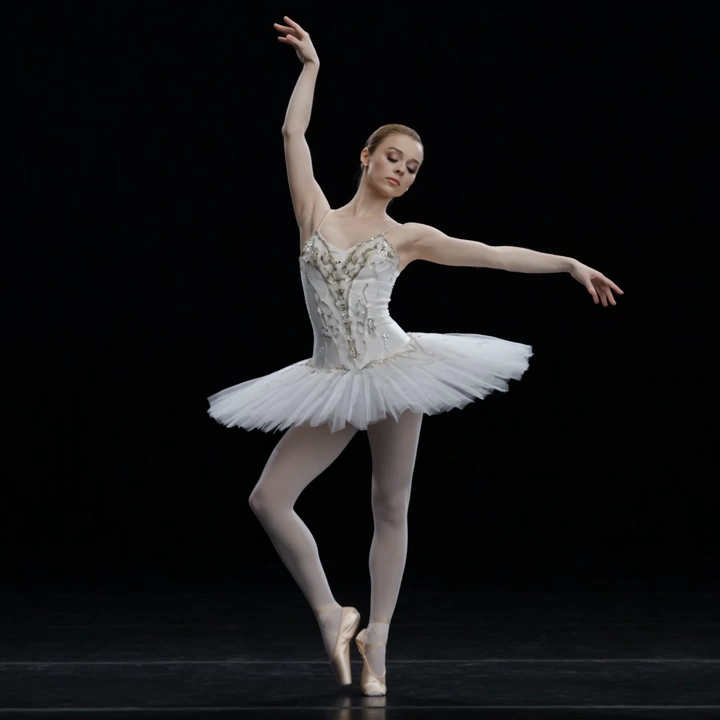
Change the model's clothes in the picture for a smooth transition.
Related Models



README
PixVerse V6 Transition
PixVerse V6 Transition generates a smooth, cinematic video transition between two images. Upload a start frame and an end frame, describe the transformation, and the model produces a natural, motion-consistent clip that flows seamlessly from one scene to the other — with optional style control, multi-clip generation, and synchronized audio.
Why Choose This?
-
Start-to-end frame transitions Generates a coherent video that naturally bridges two distinct images with smooth, believable motion.
-
Prompt-guided transformation Describe how the transition should unfold — wardrobe changes, environmental shifts, camera movements, and more.
-
Multi-clip generation Enable generate_multi_clip_switch to produce dynamic transitions with varied camera angles and cuts.
-
Style control Apply a specific visual style (e.g. cyberpunk, cinematic, anime) to the transition for creative output.
-
Optional audio generation Enable generate_audio_switch to produce synchronized ambient sound alongside the transition.
-
Thinking mode Prompt optimization mode for more nuanced or complex transition descriptions.
Parameters
| Parameter | Required | Description |
|---|---|---|
| prompt | Yes | Text description of the desired transition and transformation. |
| image | Yes | Start frame image (URL or file upload). |
| end_image | No | End frame image to transition toward (URL or file upload). |
| aspect_ratio | No | Output aspect ratio. Default: 1:1. |
| resolution | No | Output resolution: 360p, 540p, 720p (default), or 1080p. |
| duration | No | Clip length in seconds. Default: 5. |
| thinking_type | No | Enable prompt optimization mode for complex transitions. |
| generate_audio_switch | No | Whether to generate synchronized audio for the video. Default: off. |
| generate_multi_clip_switch | No | Enable multi-clip generation with dynamic camera changes. Default: off. |
| style | No | Visual style to apply to the transition (e.g. cyberpunk, cinematic). |
| negative_prompt | No | Elements to exclude from the generated transition. |
| seed | No | Random seed for reproducible results. |
How to Use
- Upload your start image — provide the opening frame of the transition.
- Write your prompt — describe how the transition should unfold (e.g. "Change the model's clothes for a smooth transition.").
- Upload end image (optional) — provide the target frame to transition toward.
- Select aspect ratio — choose the format that fits your target platform.
- Select resolution — 360p for drafts, 720p for standard output, 1080p for final production.
- Set duration — choose your desired clip length in seconds.
- Enable thinking_type (optional) — activate prompt optimization for complex transitions.
- Enable audio (optional) — check generate_audio_switch to generate synchronized sound.
- Enable multi-clip (optional) — check generate_multi_clip_switch for dynamic camera changes.
- Set style (optional) — apply a visual style to the transition.
- Add negative prompt (optional) — specify elements you want to avoid.
- Set seed (optional) — fix the seed for reproducible results.
- Submit — generate, preview, and download your transition video.
Pricing
| Resolution | Without Audio | With Audio |
|---|---|---|
| 360p | $0.025/s | $0.035/s |
| 540p | $0.035/s | $0.045/s |
| 720p | $0.045/s | $0.060/s |
| 1080p | $0.090/s | $0.115/s |
Billing Rules
- Billing is calculated per second of video generated
- Audio generation increases cost per second at each resolution tier
- Examples: 8s at 720p (no audio) = $0.36 — 8s at 720p (with audio) = $0.48
Best Use Cases
- Fashion & Apparel — Create smooth outfit or style change transitions for social content and lookbooks.
- Social Media Content — Generate eye-catching before-and-after transition clips for Reels and TikTok.
- Marketing & Advertising — Transition between product states, environments, or campaign visuals.
- Creative Storytelling — Bridge two scenes or time periods with a cinematic, motioned transition.
- Music Video & Art — Use style presets and multi-clip generation for visually rich transitions.
Pro Tips
- Provide both a start and end image for the most controlled and accurate transition output.
- Be specific in your prompt about what changes between the two frames — clothing, location, lighting, or time of day.
- Use multi-clip generation for transitions that benefit from dynamic camera angles and cuts.
- Use 360p at short durations to test your transition concept before committing to a high-resolution render.
- Fix the seed once you find a result you like to iterate consistently across duration and style changes.
Notes
- Both prompt and image are required fields; all other parameters are optional.
- Ensure image URLs are publicly accessible if using links rather than direct uploads.
- Please follow PixVerse's content usage policies when crafting prompts.
Related Models
- PixVerse V6 Text-to-Video — Generate video from text prompts from scratch.
- PixVerse V6 Image-to-Video — Animate a single reference image into a cinematic video clip.
- PixVerse V6 Video Extend — Extend an existing video clip with new AI-generated footage.
Pixverse v6 Transition API — Quick start
Grab a WaveSpeedAI API key, then call POST https://api.wavespeed.ai/api/v3/pixverse/pixverse-v6/transition with your input as JSON. The endpoint returns a prediction id. Start polling the result endpoint around every 2 seconds, increase the interval for long-running tasks, and stop on any terminal status. On completed, read output values from data.outputs. Examples for Pixverse v6 Transition below.
HTTP example
set -euo pipefail

: "${WAVESPEED_API_KEY:?Set WAVESPEED_API_KEY}"

REQUEST_BODY=$(cat <<'JSON'
{
    "prompt": "A cinematic shot of a city at sunset, soft golden light",
    "image": "https://interactive-examples.mdn.mozilla.net/media/cc0-images/painted-hand-298-332.jpg",
    "aspect_ratio": "16:9",
    "resolution": "720p",
    "duration": 5,
    "generate_audio_switch": false,
    "generate_multi_clip_switch": false
}
JSON
)

# 1. Submit the prediction.
SUBMIT_RESPONSE=$(curl --silent --show-error --fail-with-body \
  -X POST "https://api.wavespeed.ai/api/v3/pixverse/pixverse-v6/transition" \
  -H "Content-Type: application/json" \
  -H "Authorization: Bearer $WAVESPEED_API_KEY" \
  -d "$REQUEST_BODY")

TASK=$(printf '%s' "$SUBMIT_RESPONSE" | jq 'if has("data") then .data else . end')
PREDICTION_ID=$(printf '%s' "$TASK" | jq -r '.id')
if [ -z "$PREDICTION_ID" ] || [ "$PREDICTION_ID" = "null" ]; then
  printf 'Submission response did not contain a prediction id
' >&2
  exit 1
fi
RESULT_URL=$(printf '%s' "$TASK" | jq -r '.urls.get // empty')
if [ -z "$RESULT_URL" ]; then
  RESULT_URL="https://api.wavespeed.ai/api/v3/predictions/$PREDICTION_ID/result"
fi

# 2. Poll until the prediction finishes.
while true; do
  RESPONSE=$(curl --silent --show-error --fail-with-body "$RESULT_URL" \
    -H "Authorization: Bearer $WAVESPEED_API_KEY")
  RESULT=$(printf '%s' "$RESPONSE" | jq 'if has("data") then .data else . end')
  STATUS=$(printf '%s' "$RESULT" | jq -r '.status')
  case "$STATUS" in
    completed) printf '%s\n' "$RESULT" | jq '.outputs'; break ;;
    failed|cancelled|timeout) printf '%s\n' "$RESULT" | jq . >&2; exit 1 ;;
    created|processing) sleep 2 ;;
    *) printf 'Unexpected status: %s
' "$STATUS" >&2; exit 1 ;;
  esac
done
Node.js example
const submitUrl = "https://api.wavespeed.ai/api/v3/pixverse/pixverse-v6/transition";
const apiKey = process.env.WAVESPEED_API_KEY;
if (!apiKey) throw new Error('Set WAVESPEED_API_KEY');

async function requestJson(url, options = {}) {
  const response = await fetch(url, options);
  if (!response.ok) throw new Error(await response.text());
  return response.json();
}

// 1. Submit the prediction.
const body = await requestJson(submitUrl, {
  method: "POST",
  headers: {
    "Authorization": `Bearer ${apiKey}`,
    "Content-Type": "application/json",
  },
  body: JSON.stringify({
        "prompt": "A cinematic shot of a city at sunset, soft golden light",
        "image": "https://interactive-examples.mdn.mozilla.net/media/cc0-images/painted-hand-298-332.jpg",
        "aspect_ratio": "16:9",
        "resolution": "720p",
        "duration": 5,
        "generate_audio_switch": false,
        "generate_multi_clip_switch": false
}),
});
const task = body.data ?? body;
if (!task.id) throw new Error("Submission response did not contain a prediction id");
const resultUrl = task.urls?.get ||
  `https://api.wavespeed.ai/api/v3/predictions/${task.id}/result`;

// 2. Poll until the prediction finishes.
while (true) {
  const resultBody = await requestJson(resultUrl, {
    headers: { "Authorization": `Bearer ${apiKey}` },
  });
  const result = resultBody.data ?? resultBody;
  if (result.status === "completed") {
    console.log(result.outputs);
    break;
  }
  if (["failed", "cancelled", "timeout"].includes(result.status)) throw new Error(JSON.stringify(result));
  if (!["created", "processing"].includes(result.status)) throw new Error("Unexpected status: " + result.status);
  await new Promise(resolve => setTimeout(resolve, 2000));
}
Python example
import json
import os
import time
from urllib.request import Request, urlopen

api_key = os.environ["WAVESPEED_API_KEY"]
headers = {"Authorization": f"Bearer {api_key}", "Content-Type": "application/json"}
payload = {
    "prompt": "A cinematic shot of a city at sunset, soft golden light",
    "image": "https://interactive-examples.mdn.mozilla.net/media/cc0-images/painted-hand-298-332.jpg",
    "aspect_ratio": "16:9",
    "resolution": "720p",
    "duration": 5,
    "generate_audio_switch": False,
    "generate_multi_clip_switch": False
}

def request_json(url, data=None):
    request = Request(url, data=data, headers=headers, method="POST" if data else "GET")
    with urlopen(request) as response:
        return json.load(response)

# 1. Submit the prediction.
body = request_json("https://api.wavespeed.ai/api/v3/pixverse/pixverse-v6/transition", json.dumps(payload).encode())
task = body.get("data", body)
if not task.get("id"):
    raise RuntimeError("Submission response did not contain a prediction id")
result_url = task.get("urls", {}).get("get") or f"https://api.wavespeed.ai/api/v3/predictions/{task['id']}/result"

# 2. Poll until the prediction finishes.
while True:
    result_body = request_json(result_url)
    result = result_body.get("data", result_body)
    status = result.get("status")
    if status == "completed":
        print(result.get("outputs", []))
        break
    if status in {"failed", "cancelled", "timeout"}:
        raise RuntimeError(result)
    if status not in {"created", "processing"}:
        raise RuntimeError(f"Unexpected status: {status}")
    time.sleep(2)
Pixverse v6 Transition API — Frequently asked questions
What is the Pixverse v6 Transition API?
Pixverse v6 Transition is a Pixverse model for video generation from images, exposed as a REST API on WaveSpeedAI. PixVerse V6 Transition creates smooth AI-generated video transitions between a start image and an optional end image. Supports 360p to 1080p resolutions, 1-15 second duration, multiple aspect ratios, optional audio generation, and multi-clip mode. Ready-to-use REST inference API, best performance, no coldstarts, affordable pricing. You can call it programmatically or try it from the playground above.
How do I call the Pixverse v6 Transition API?
POST your input parameters to the model's REST endpoint (shown in the API tab of this playground) with your WaveSpeedAI API key in the Authorization header. Submission returns a prediction ID. Poll the result endpoint starting around every 2 seconds, increase the interval for long-running tasks, and stop on any terminal status. The playground generates production-oriented Python, JavaScript, and cURL examples with timeouts, transient-error handling, and safe GET retries. Full request/response shape is documented at https://wavespeed.ai/docs/docs-api/pixverse/pixverse-pixverse-v6-transition.
How much does Pixverse v6 Transition cost per run?
Pixverse v6 Transition starts at $0.025 per run. That figure is the base price — the final charge scales with the parameters you set in the form (output size, length, count, references, or whatever knobs this model exposes), so a higher-quality or larger output costs more than a minimal one. The exact cost for your current input is shown live next to the Generate button before you submit, and the actual per-call charge is recorded on the prediction afterwards.
What inputs does Pixverse v6 Transition accept?
Key inputs: `prompt`, `image`, `aspect_ratio`, `resolution`, `duration`, `end_image`. The full JSON schema (types, defaults, allowed values) is rendered above the Generate button and mirrored in the API reference at https://wavespeed.ai/docs/docs-api/pixverse/pixverse-pixverse-v6-transition.
How do I get started with the Pixverse v6 Transition API?
Sign up for a free WaveSpeedAI account to claim starter credits, copy your API key from /accesskey, then call the endpoint shown in the API tab of the playground. The playground also auto-generates a code sample in Python, JavaScript, or cURL for the parameters you've set.
Can I use Pixverse v6 Transition outputs commercially?
Commercial usage rights depend on the model's license, set by its provider (Pixverse). The license summary appears on the model card above; see WaveSpeedAI's Terms of Service for platform-level conditions.